
With Canva Magic Eraser, you can remove any unwanted objects in your photo with one click.
How To Use Canva Magic Eraser (Video Tutorial)
Step-by-step tutorial for Canva Magic Eraser
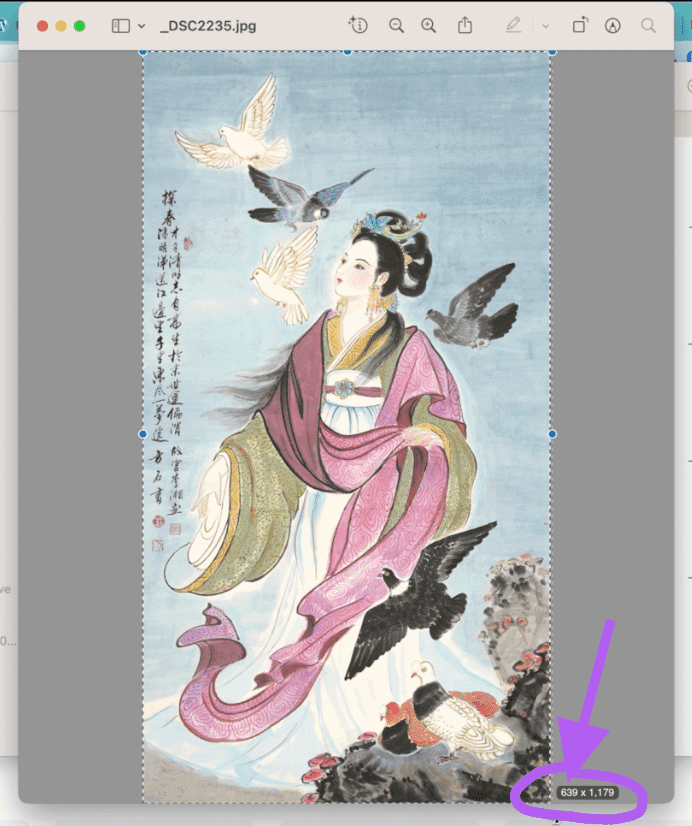
- Set up a Canva design using your image dimension. Not sure what it is? You can use Mac’s preview tool or similar to quickly measure the image.
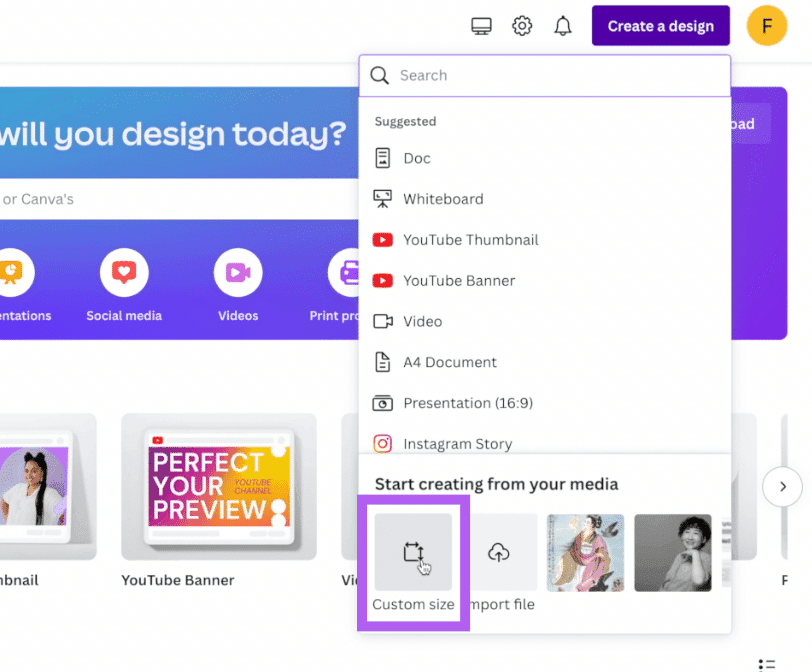
2. Create a custom Canva design using the dimension – it’ll make your editing and exporting process a lot easier. Go to Create a Design | Custom size
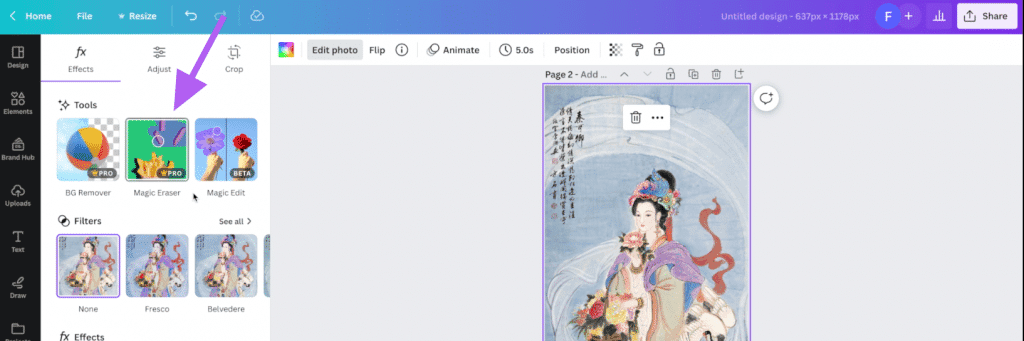
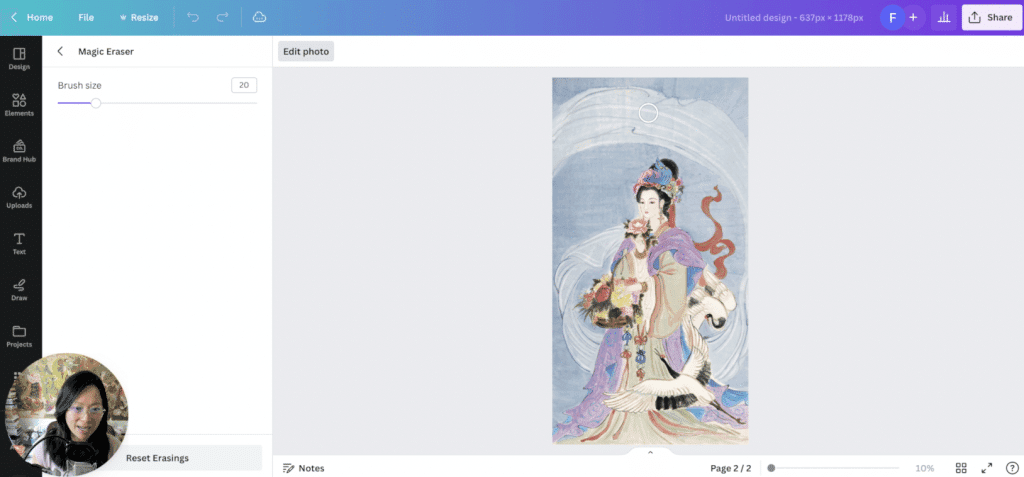
3. Now simply upload your image to Canva, or drag and drop your image into your Canva design

4. Click on the Magic Eraser tool on the left-hand side
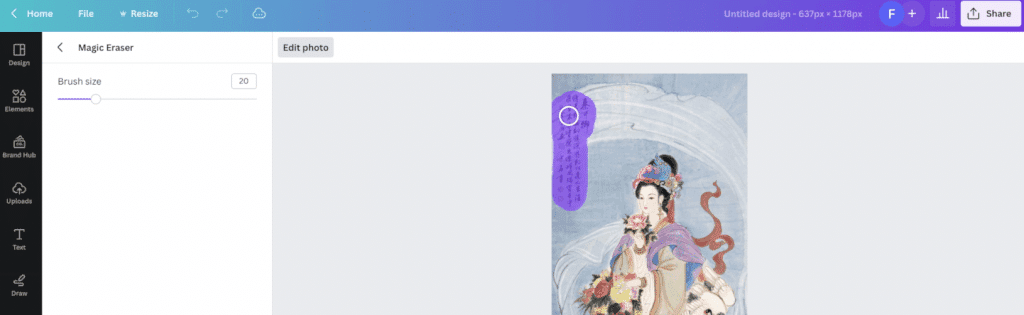
5. This next part is really fun and satisfying. After you choose the eraser tool size, start “painting” / erasing over the parts of the photos you don’t want. The moment you release your cursor (i.e. using your mouse button), the parts will be removed. It’s that easy!
Before
After
Voilà, you are done!
Imagine this effort done through Photoshop will take longer (and require some expertise in Photoshop to begin with). Now with Canva AI, specifically the Magic Eraser tool, anyone can remove unwanted parts from their photos, designs, paintings and much more.
What do you think of Canva Magic Eraser? How has your experience been? As usual, feel free to connect with me on Facebook, LinkedIn or Instagram!
You might also enjoy…

Written by
Fei WuFei Wu is the founder and CEO of Feisworld Media, a Massachusetts-based digital media company helping brands get discovered by people and by AI. An Adobe Global Ambassador and brand partner to ElevenLabs, Synthesia, and 50+ other tech and AI companies, she hosts the Feisworld Podcast (400+ episodes, 500K+ downloads — guests have included Seth Godin, Steve Wozniak, Chris Voss, and Arianna Huffington) and co-created the documentary Feisworld: Live Your Art on Amazon Prime. Fei writes for CNET, Lifehacker, and PCMag, and her work has been featured in Forbes, Harvard Business Review, and WIRED. She has been publishing on the internet since 2014 — long before AI discoverability had a name.
View all posts by Fei Wu→Stay updated
Weekly insights on content, AI, and digital media.
Keep Reading
Related Articles

Ecamm Review 2026: Dual Mode Changed How I Create Video (Here’s How)

The Ultimate Guide to Adobe Firefly Video Generation: Choosing the Right Model for Your Project (2026)
